
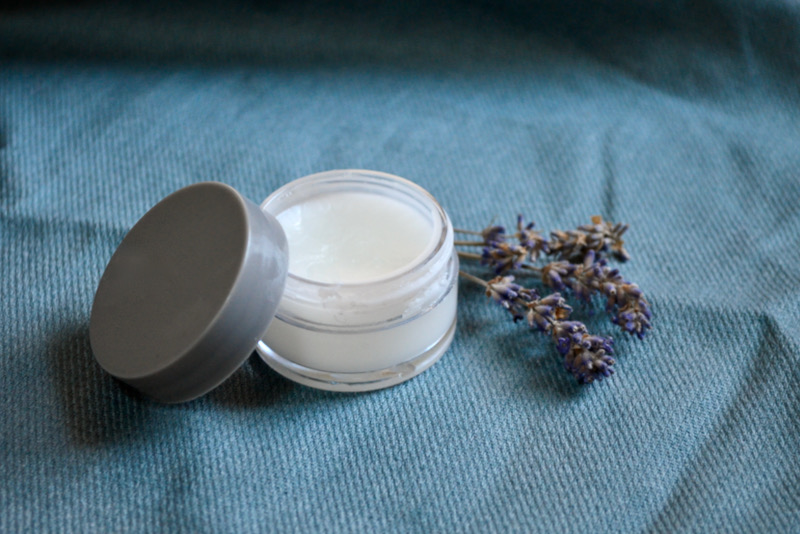
With only 2 main ingredients, this is the easiest DIY face moisturizer you will ever make. It takes about one minute and is all-natural, anti-bacterial, anti-inflammatory, and anti-aging. What’s not to like?! Oh, and it costs pennies.
This post contains affiliate links, which means I make a small commission at no extra cost to you.
About 10 years ago, I got tired of paying lots of money for a 3-step face care program that had served its purpose, and I was no longer happy with it. This was about the time I became a vegetarian and started a more holistic diet and self-care. I didn’t want chemicals on my face anymore, so I started the journey of natural skincare. This was while I was in seminary and on a tight budget, so I was looking for affordable natural skincare.
Going Natural
I found face wash and blemish treatments that met my natural and affordable criteria early on but struggled to find a moisturizer I was happy with. I still use the same facewash and blemish treatment 10 years later and recommend it all the time to others. Both contain Tea Tree oil which is a miracle worker.
Tea Tree oil is anti-everything – anti-inflammatory, antibacterial, antimicrobial, and antiseptic. It can help calm, soothe, and heal your skin, whether it’s acne, a cut, dandruff, eczema, or a canker sore. This is the essential oil I used and loved before I even realized it was an essential oil.
I use this Desert Essence Thoroughly Clean Facewash morning and night. If I have any blemishes, I just dab Desert Essence Tea Tree oil straight on the spot before applying my DIY Face Moisturizer. They will tell you to dilute it before putting it on your skin. You should probably follow their recommendation, at least at first. I have been putting this undiluted on my skin for 10+ years and haven’t had any problems. In fact, my spot goes away within two days typically.
The only downside I have discovered with this face wash is that it does not remove eye makeup very well. But I have a solution for that! My DIY Face Moisturizer. This is what you are reading this blog post to learn more about, so let’s get to it!

Coconut Oil
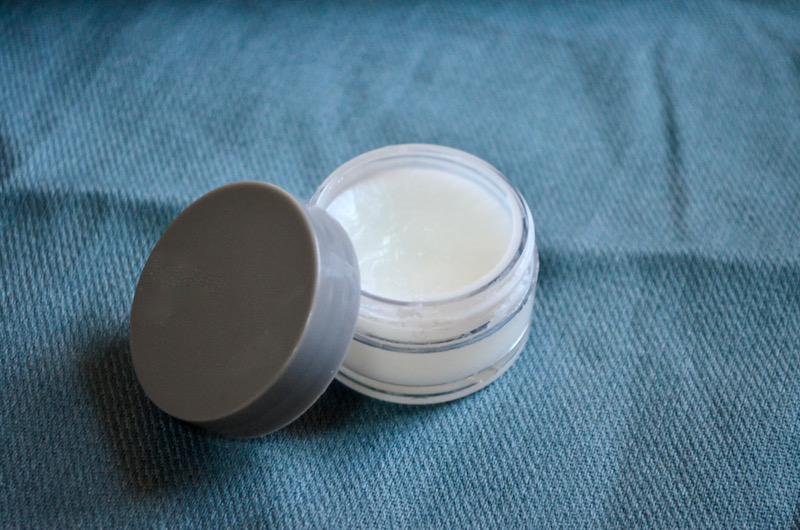
The main ingredient – coconut oil.
A few years into my natural skincare journey, a colleague mentioned all she used on her face was coconut oil. Now, I was and still am a big fan of all things coconut, especially the oil, which is really good for you in numerous ways. However, I had never put it on my face. She claimed that, although it made no sense to put straight oil on an acne-prone face, it stopped her acne completely. Someone had recommended this to her, and she was floored at how well it worked.
So naturally, I tried it.
Pure coconut oil on the face works wonders. (It also gets the mascara smudges off from under my eyes!)
Why Does Coconut Oil clear your skin?
Coconut is just a magical fruit, that’s all.
But seriously, coconut oil is amazing! Years ago, when I was getting into coconut oil, I bought a copy of The Coconut Oil Cure, which has both natural health and food recipes as well as really helpful info about coconut oil from its history to its health benefits.
There are a lot of benefits to eating coconut oil, but for this post, I’m going to stick to the skincare benefits. It is full of antioxidants and vitamin A, which both help reduce wrinkles and fine lines. When applied directly to the skin, it can block 20% of the sun’s harmful UVA and UVB rays. Being antibacterial, it can kill bad bacteria linked to acne. Its anti-inflammatory properties help reduce skin redness and soothe dry spots.
What kind of Coconut Oil should I use?
The two types of coconut oil are ‘unrefined’ and ‘refined’. Unrefined is better for cooking and natural health remedies like this. Coconut oil almost always comes in solid form (and gets liquid as the temp gets over 78 degrees) unless it is fractionated coconut oil. Anytime I reference coconut oil, unless I specify fractionated coconut oil, I mean unrefined solid oil.
There are a lot of different brands out there at different price points. Personally, I use Aldi’s organic, unrefined, cold-pressed coconut oil. It is affordable, easy for me to get often, and I like to taste and texture of it.
Essential oils
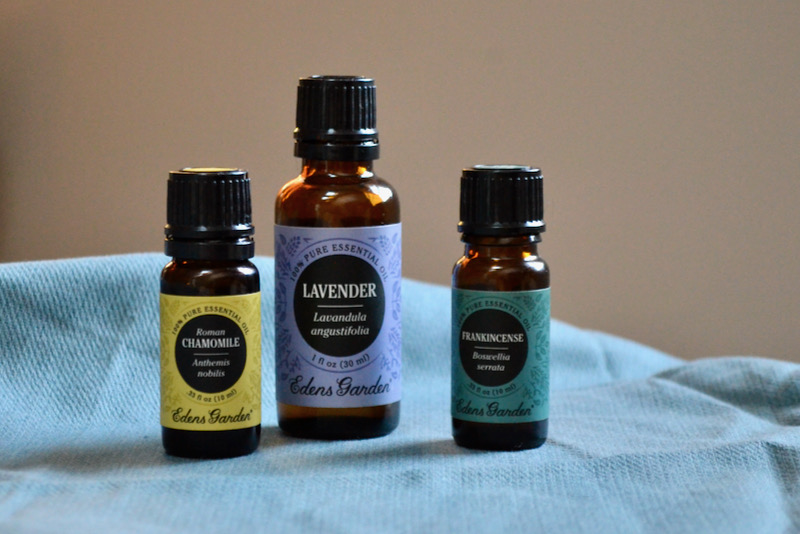
The second ingredient is essential oils. I use three different essential oils.
Frankincense, Lavender, and Chamomile.
What are the benefits of Frankincense essential oil on the face?
Initially, this was the one essential oil I knew I wanted to put in my DIY Face Moisturizer. No, not just because it was a gift to Jesus from the Wise Men, but because it is said to reduce wrinkles, shrink pores, and calm redness. That sounds pretty good to me! It is known as anti-aging on the skin. Learn more here.
I used it in my pre- and post-pregnancy belly cream and have no stretch marks or lingering pregnancy belly. There are many other factors there too, but I think Frankincense only helped!
This is the Frankincense essential oil I use.
What are the benefits of Lavender essential oil on the face?
Apart from being very soothing and relaxing, Lavender essential oil has antimicrobial and antifungal properties. Even more important for the face is that it is antibacterial and can help kill acne-causing bacteria.
There are various types of Lavender EO, like French, Bulgaria, Greek, and Spike, among others. From my brief research, they all have similar properties, with French Lavender perhaps being a slightly better choice for skincare.
This is the Lavender essential oil I use.
What are the benefits of Chamomile essential oil on the face?
What comes to mind when you think of chamomile? A relaxing cup of tea! Well, not only is it good for promoting sleep, but it also helps with digestion, anxiety, anti-inflammation, pain relief, and soothing of skin conditions. It can help fight acne, reduce acne scars, reduce inflammation, and even skin tone.
Perfect for a face moisturizer.
This is the Chamomile essential oil I use.
What brand of essential oils should I use?
That is up to you. The important thing is that they are 100% pure essential oils and not mixed with filler oils. They are ideally ethically and sustainably sourced and tested by a third party. The company that I have used since the beginning of my essential oil journey is Eden’s Garden. They are women-owned and operated, with 100% pure EOs, have third-party batch testing, are sustainably and ethically sourced, give back to the community, have great marketing pics, and have been voted the #1 non-MLM EO company three years in a row! Oh, and the cost? Super affordable!
Being non-MLM (multi-level marketing) means that you are only paying for their excellent products (with free shipping by the way) and not for the benefit of the person selling it to you. Learn more about the company.
You can buy directly from their website. They have excellent customer service and free shipping. I had one bottle leak (out of too many to count) in shipping, and they replaced it right away, no questions asked.
Other companies that are high quality and affordable are Plant Therapy and Rocky Mountain Oils.
Making DIY Face Moisturizer
This is the easy part! It literally could take you one minute to make this if you have all the supplies in front of you. Watch my video on how easy it is to make!
Materials Needed
- Unrefined coconut oil
- Frankincense essential oil
- Lavender essential oil
- Chamomile essential oil
- 1 oz container with lid
- Spoon
- Microwave
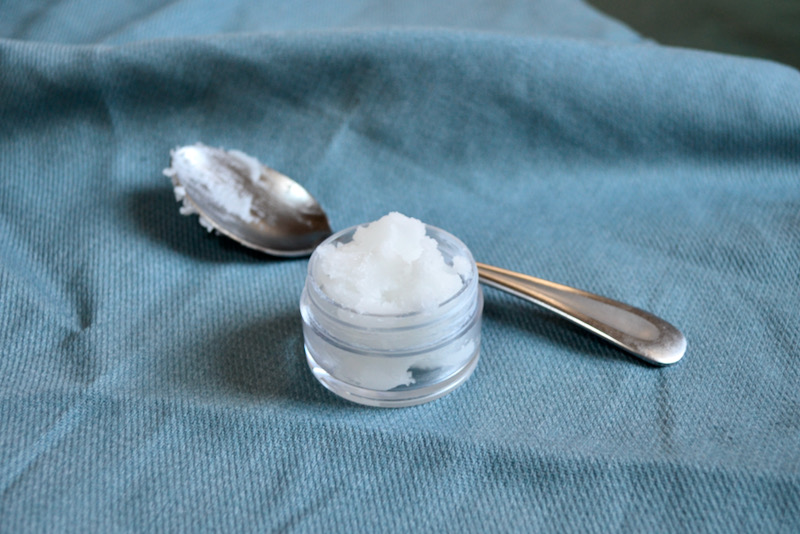
Step 1: Spoon coconut oil
Spoon coconut oil into your 1 oz container. Try to mash it in there to remove any holes. The weight of the coconut oil will be approximately 15 grams.
Step 2: Melt coconut oil
Put the container in the microwave for about 20 seconds to get it melted and clear all the way through.
Step 3: Add essential oils
Add two drops of each essential oil – Frankincense, lavender, and chamomile. Aim for two drops each, but almost every time I have an extra drop slip in there, and that is ok. If you don’t have one of the oils, just start with what you have. If you only have lavender, then I’d do 5-6 drops of lavender for this 1 oz pot.
Give it is gentle shake or roll to mix the essential oils in with the coconut oil

Step 4: Let it solidify
You can use this in its liquid state, but it is messy. I’ve done that if I’m completely out and need to use some as soon as I make it. It is easiest to work with once it comes back to its solid state.
You can either put it in the fridge for about 20 minutes for a quick hardening or let it sit at room temperature for a slower hardening. Of course, if it is summer and really hot out, it may not solidify on its own until the temps cool. The melting point for coconut oil is 78 degrees.

Step 5: Use and enjoy!
I love the way this smells and feels, so I really do enjoy using it! If you’re used to a more creamy moisturizer, it may take a little while to get used to the oily feel. I often wait a little while after putting it on before I put on any makeup. Just to give it time to absorb into my skin and not get extra build-up on my makeup brushes.
I rub this all over, including under my eyes. It helps keep dry skin at bay.
Just a tip, I find it easiest to apply by scraping the back of my nail along the surface to get the amount I need. (Roughly the size of a black bean.) Then I rub it between the palms of my fingers before applying.
If you like this recipe, share it with others!
If you enjoyed this post…
Then I think you’ll like my LIP BALM RECIPE | HOW TO MAKE HOMEMADE NATURAL LIP BALM
PIN FOR LATER!
I’m a new blogger, and saving this image to Pinterest can help me grow! Learn more about my blog HERE.


DIY Face Moisturizer
This is the easiest DIY face moisturizer you will ever make. It takes about one minute and is all-natural, anti-bacterial, anti-inflammatory, and anti-aging. Get rid of acne, scars, and reduce inflammation.
Materials
- Coconut Oil
- Frankincense Essential Oil
- Lavender Essential Oil
- Chamomile Essential Oil
- 1 oz Container with lid
Tools
- Spoon
- Microwave
Instructions
- Fill 1 oz container with about 15 grams of coconut oil or until full
- Melt coconut oil - microwave for about 20 seconds
- Put 2 drops each of Frankincense, Lavender, and Chamomile essential oils into melted coconut oil (see note)
- Give a gentle shake and let solidify; if left at room temperature it should return to a solid-state (if it's not too hot); I prefer to put it in the fridge for about 20 minutes to help it solidify faster.
- Use morning and evening after washing your face
Notes
Drops of EO: if an extra drop gets in there it will be fine, but aim for 2 drops each
Application: I find that it works best if I use the back of a nail to scrape a small amount out to apply it to my face
Hello ,how long can one use the face moisturizer for?
Hello. Thanks for your question. I would advise basing it’s shelf life off of the expiration date of the coconut oil you use.